Getting started#
The following instructions will guide through running the default remote
control example in your DotBot board. You will flash the 03app_dotbot_gateway
application on an nRF DK board (nRF52833-DK, nRF52840-DK or nRF5340-DK) that will
act as the remote control and you will flash the 03app_dotbot application on
the DotBot (v1 or v2).
Materials#
1x DotBot board
1x nRF52833-DK or nRF52840-DK or nRF5340-DK development board
1x 10pin IDC programming cable
1x micro USB able
Flashing Tools#
All DotBots and DKs are based on Nordic Semiconductors microcontrollers, so we recommend that you use Nordic programming tools to flash the firmwares:
In this document, we will give instructions about how to flash using nrfjprog
from nRF Command Line Tools, so make sure it’s installed on your
computer before continuing.
Download and flash the DotBot gateway application firmware#
Download the latest release of the DotBot Gateway firmware (
.hexfile), depending on the type of DK you use:
nRF5340-DK: application core and network core
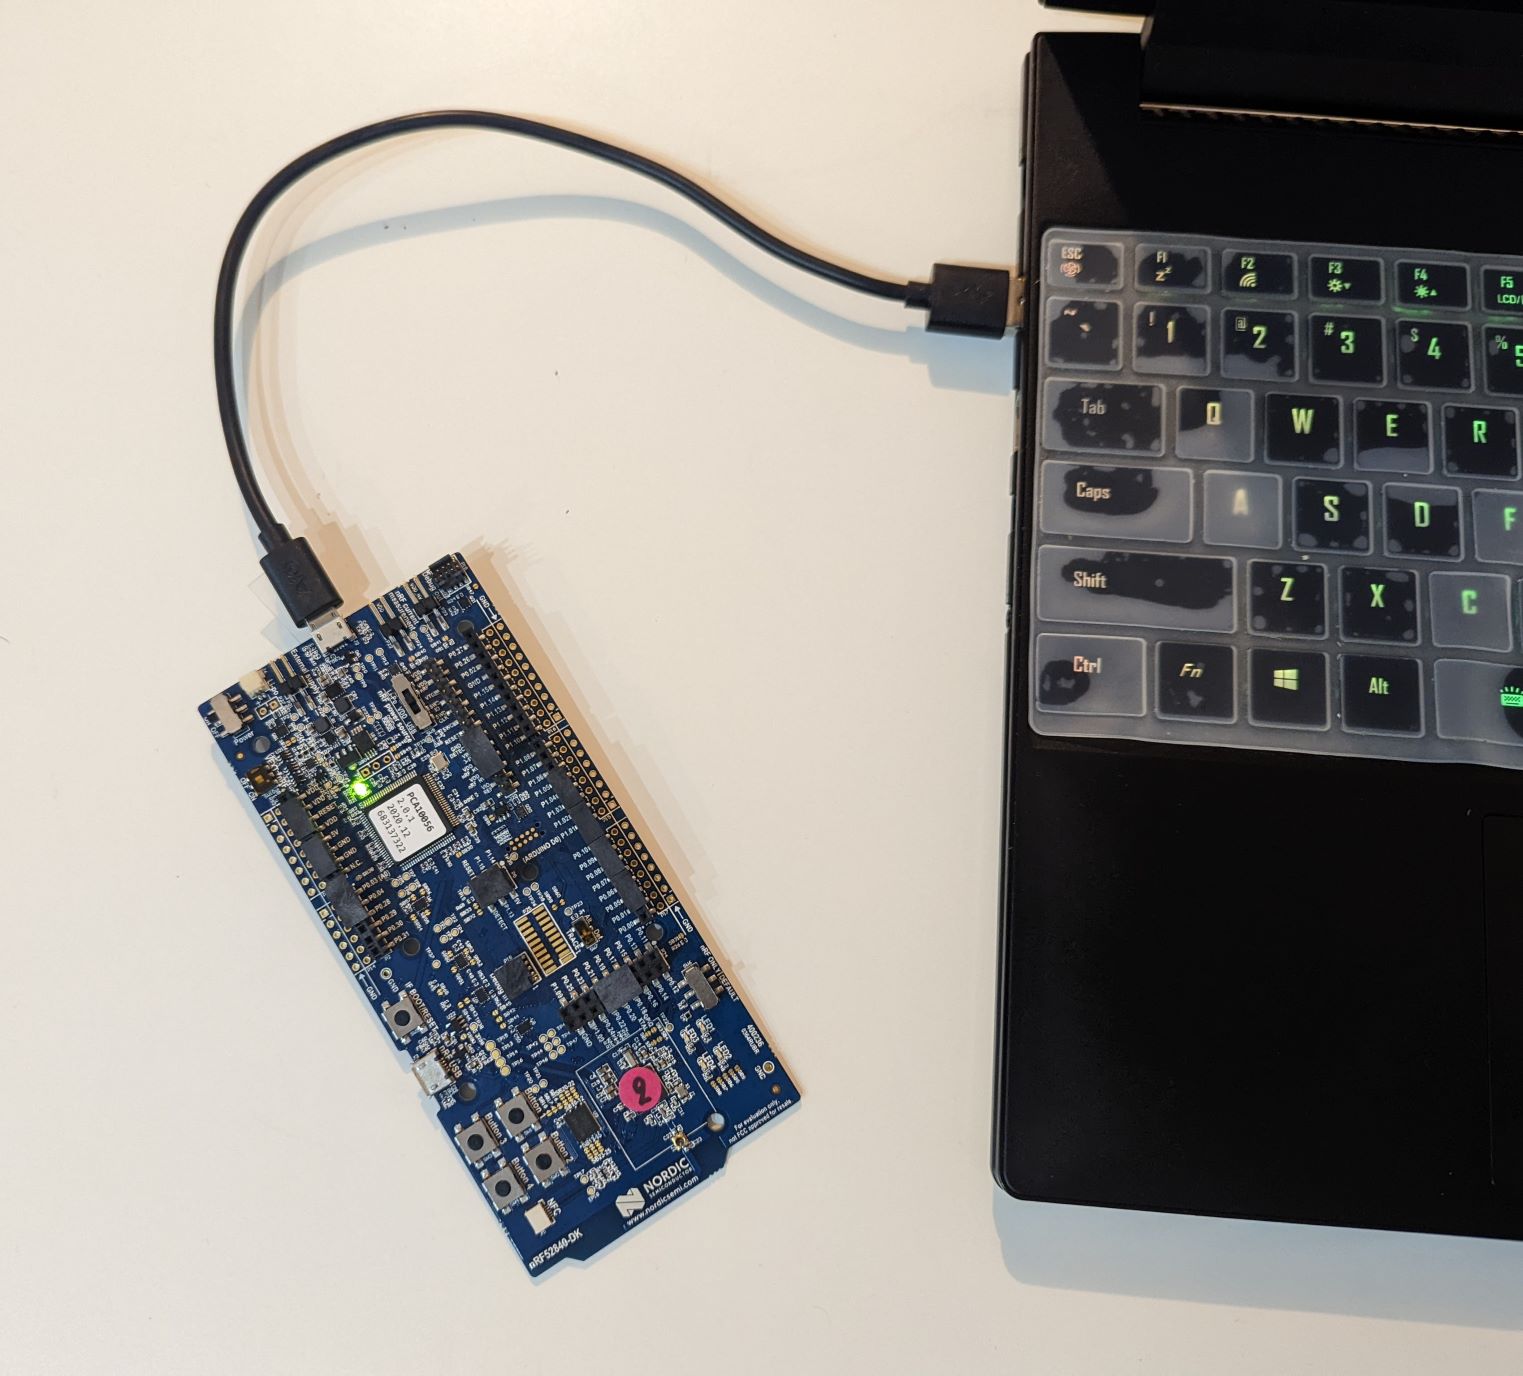
Connect the nRF DK board to your computer through the micro USB cable
Flash the firmware(s) on the DK. Depending on your type of DK board, do:
for nrf52 based DK, run:
nrfjprog --family NRF52 --debugreset --sectorerase --program <path to 03app_dotbot_gateway hex file>
for nrf53 based DK, flash both the application and network cores with the following 2 commands:
nrfjprog --family NRF53 --debugreset --sectorerase --program <path to 03app_dotbot_gateway-nrf5340dk-app hex file>
nrfjprog --family NRF53 --coprocessor CP_NETWORK --debugreset --sectorerase --program <path to 03app_nrf5340_net hex file>
After flashing the firmware LED1 blinks during one second to indicate that everything is working as expected.
Download and flash the DotBot application firmware#
Download the latest release of the DotBot firmware (
.hexfile), depending on the version of DotBot you use:
DotBot v2: application core and also network core for the network core
Connect the nRF DK board to your computer through the micro USB cable
Connect the nRF DK to the DotBot through the 10 pin IDC cable. Make sure the DotBot is turned ON and has full batteries installed
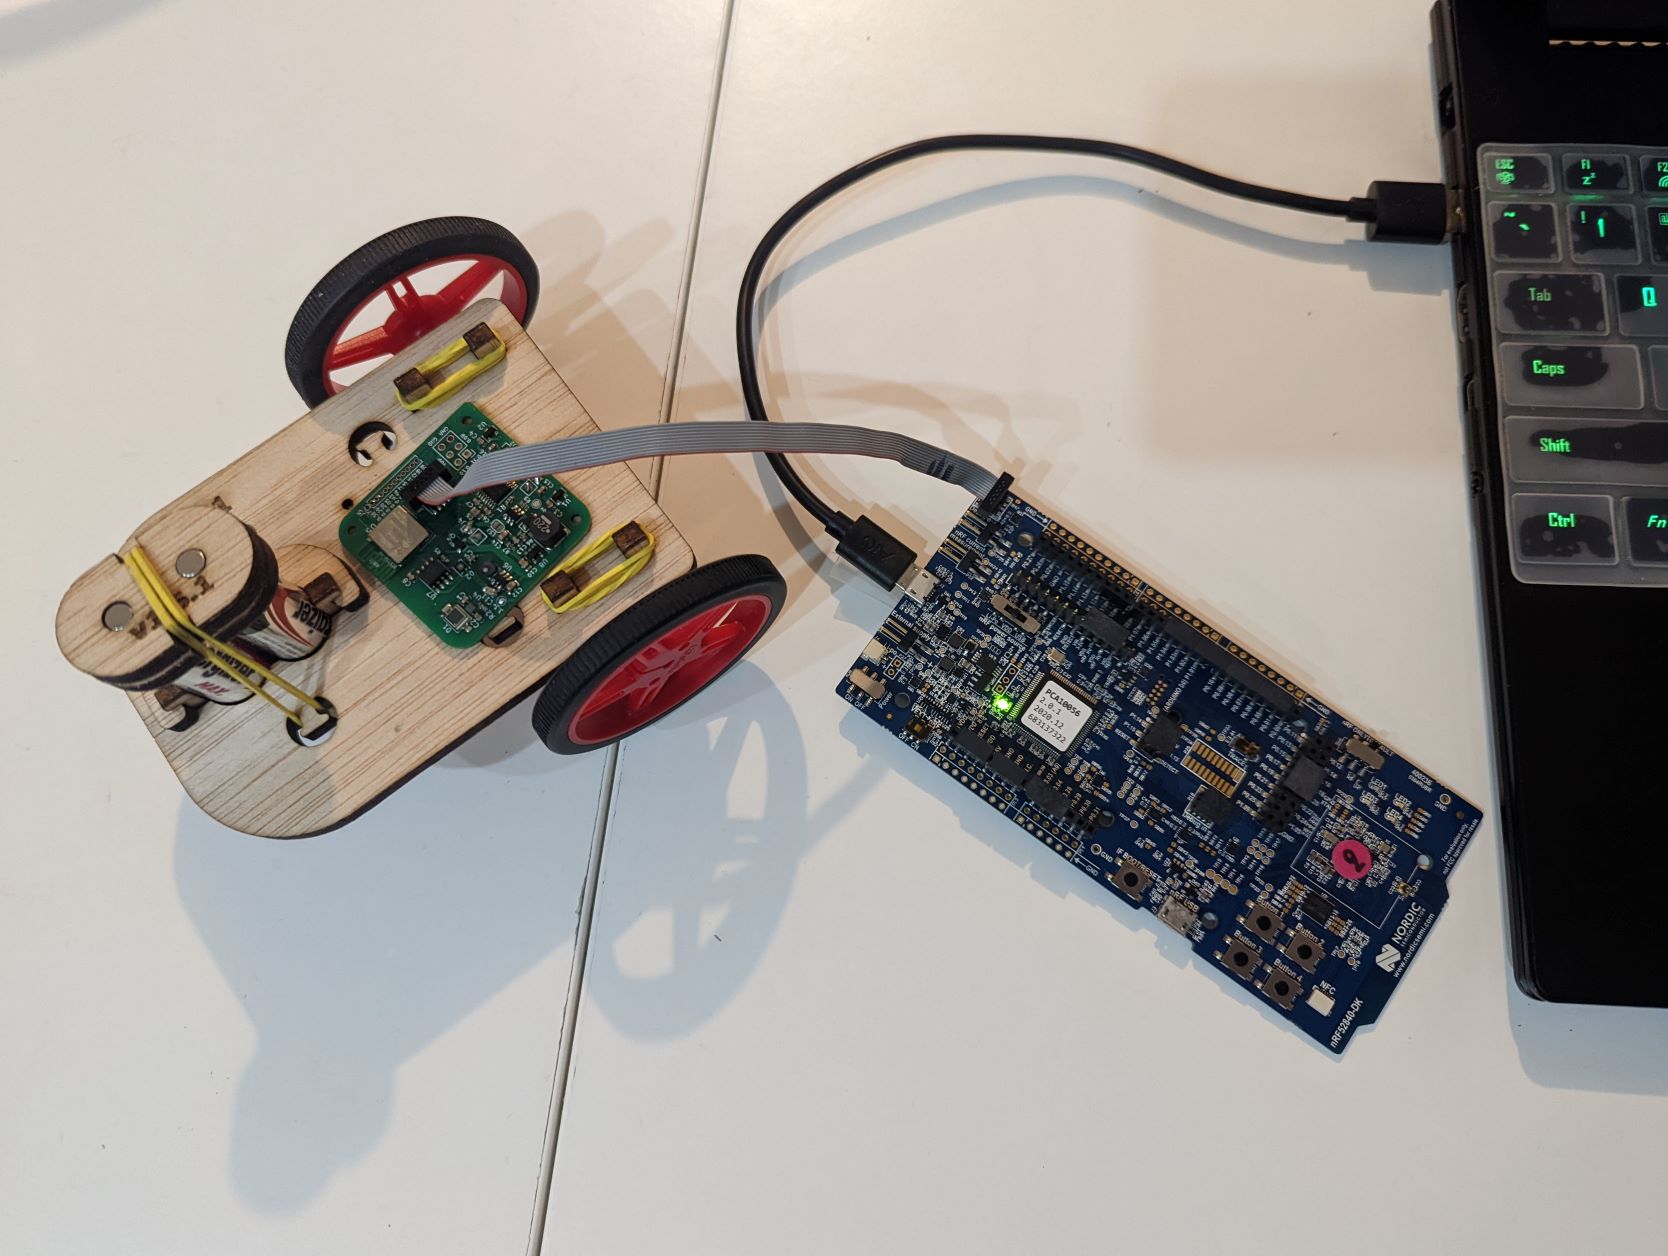
Flash the firmware(s) on the DotBot. Depending on your DotBot version, do:
for v1.x (nrf52 based), run:
nrfjprog --family NRF52 --debugreset --sectorerase --program <path to the hex file>
for v2.x (nrf53 based), flash both the application and network cores with the following 2 commands:
nrfjprog --family NRF53 --debugreset --sectorerase --program <path to dotbot-v2 hex file>
nrfjprog --family NRF53 --coprocessor CP_NETWORK --debugreset --sectorerase --program <path to 03app_nrf5340_net hex file>
Disconnect the DotBot from the nRF DK
Play with the DotBot#
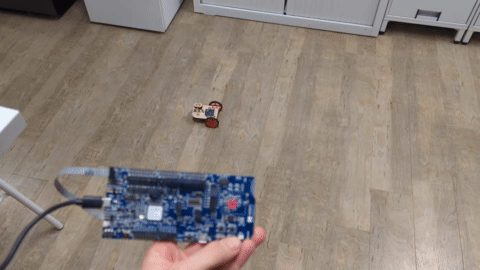
At this point you should be able to control the movement of the DotBot using the buttons on the nRF DK, the controls are as follows:
Button 1: Left wheel moves forward
Button 2: Right wheel moves forward
Button 3: Left wheel moves backward
Button 4: Right wheel moves backward
You can combine buttons 1 & 2 to move the DotBot straight forward, buttons 3 & 4 to move the DotBot backward, etc.